You can easily create stars in InDesign using the polygon tool,
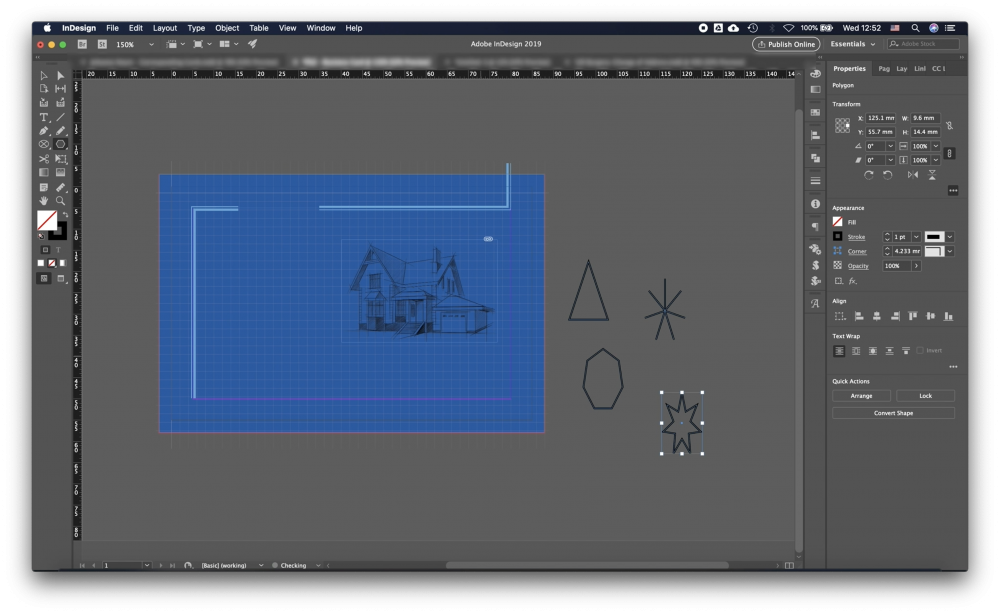
There is no shortcut key for the Polygon Tool, so you’ll need to choose the tool from the Toolbar, where it is nested beneath the Rectangle Tool, you can click the Right-Click or Click and Hold and the options will show.
To choose the sides of the Star/Polygon click anywhere on the working area and the window with the options and settings will show you can choose the width, height, the number of sides and the Inset.
You can just play around with the numbers and create different shapes.
Bonus Tip:
Here some settings for specific star shapes:
- Basic 5-Point Star. For a perfect five-point star such as those on the U.S. or Texas flags, draw a five-sided polygon with a Star Inset of 50% and the same height and width.
- Gold Seal Style Star. Try a 20-sided polygon with a Star Inset of just 15 %.
- Gold Seal Style Star. Another gold seal version might have 30 sides with a 12% Star Inset. Hold the shift key while drawing to keep it a perfectly circular seal.
- Starburst. To create a starburst shape with irregular points, start with a polygon of 14 sides and an 80% Star Inset. Use the Direct Selection tool to select some of the outer anchor points and move them in toward the centre of the star or out away from the centre to vary the length of the star arms.
- Asterisk or Square Point Star. For a star shape with rectangular points, begin with a 16-sided polygon with a 50%Star Inset. Then, using the Delete Anchor Point tool from the Pen flyout, delete every other one of the inset anchor points.
- Curvy Starburst. Another irregular star shape starts with a polygon with seven sides and a 50% Star Inset. Use the Direct Selection tool to move some of the outer anchor points. Then use the Convert Direction Point tool on just the inside anchor points to make them into curves. Click the anchor point with the tool and dragging it slightly to reveal its handles. Select the anchor or its handles to manipulate the curve to get