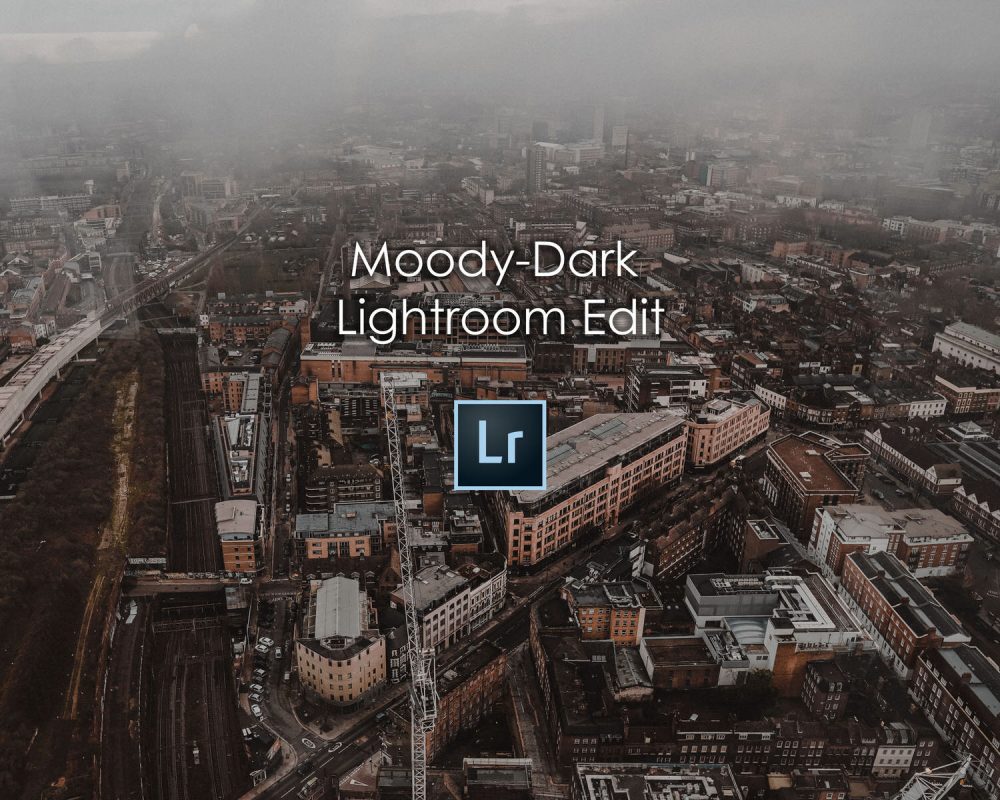
We all have seen the popular Instagram Dark-Moody look of the Photos, so I decided to create a quick tutorial on how to recreate that look in Lightroom.
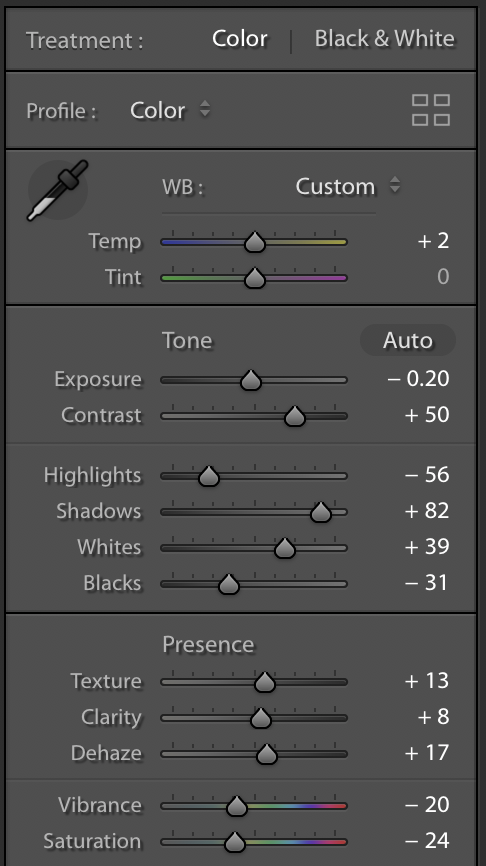
Step 1 is to start with the Basic Panel set the White Balance, Exposure and the rest of the basic settings. Here are my settings but it may be different for your photo.
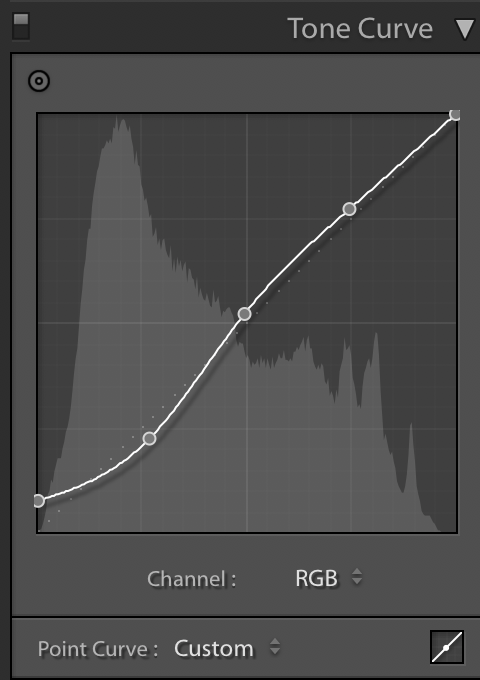
Step 2 The Tone Curve, add 3 points to help you create the ‘S’ curve.
Step 3 HSL/Color Panel


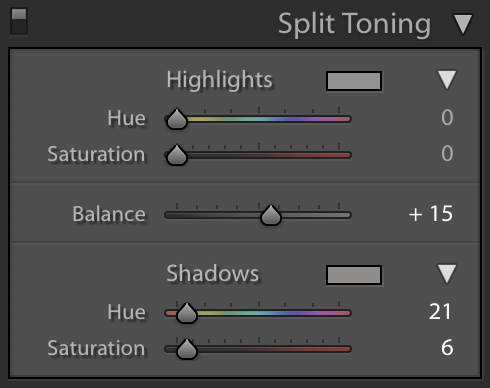
Step 4 Split Toning, I just added a bit of warm colour in the shadows.
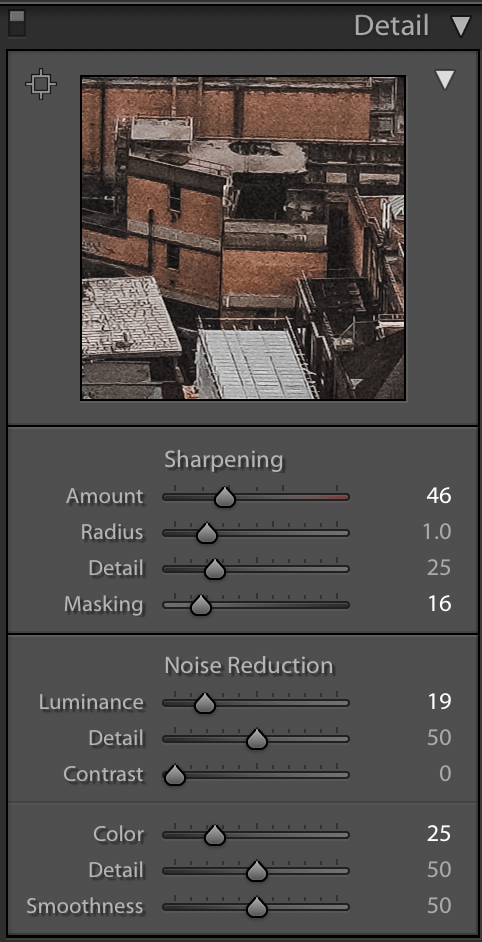
Step 5 A bit of sharpening and noise reduction
I like to turn on – Remove Chromatic Aberration and – Enable Profile correction, and add a bit of Grain.


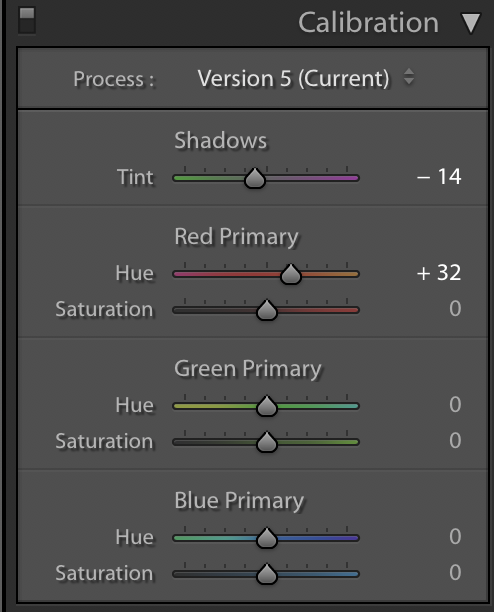
Step 6 Calibration just the hue of the Red colour and change the tint of the Shadows.
Final Step is to use the Radial or the Gradient Filter to do some local Adjustments where you want the viewer attention.